No products in the cart.

YOUR CART
Item added
Item updated
Item removed
No more products on stock
You entered wrong value.
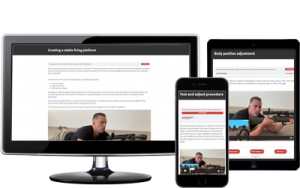
In this article we are going to cover a little known technique (that most shooters don’t do) that will drastically improve your shooting.
Naturally aligning your rifle to the target so that it is pointing at the target without any effort is critically important to accurate shooting.
In the last few posts we covered exactly how to achieve this through the creation of a stable firing platform, moving your body (not rifle) and finally how to incorporate breathing into your shooting process.
If you have not read or do not understand exactly how to achieve these, then I would suggest going back and brushing up on the skills, otherwise this article will not make much sense.
A lot of shooters don’t realize that they subconsciously muscle their weapon onto the target without even knowing they are doing it.
Because of this, in this article we are going to cover a simple 3 step process that will stop this subconscious movement and ensure you are aligned every time.
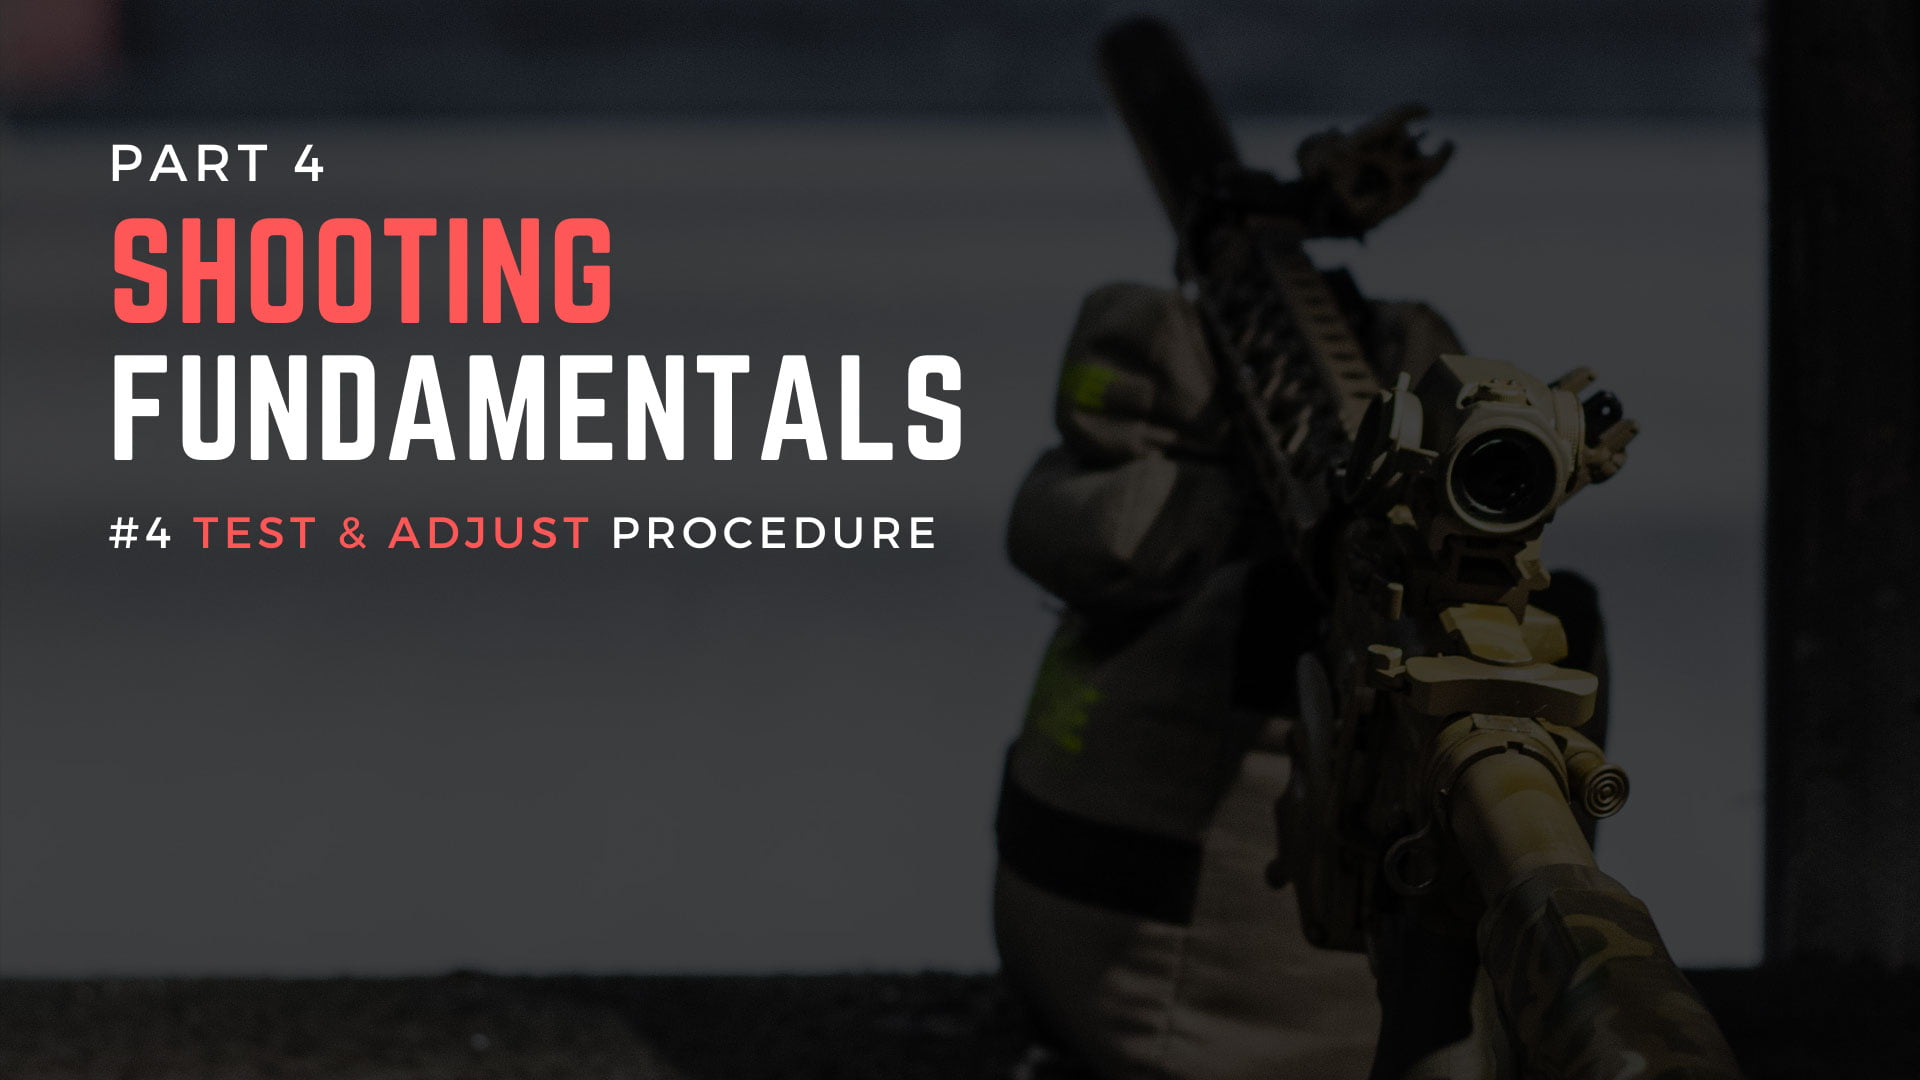
The process is called the ‘Test and Adjust Procedure’.
How it works is as follows:
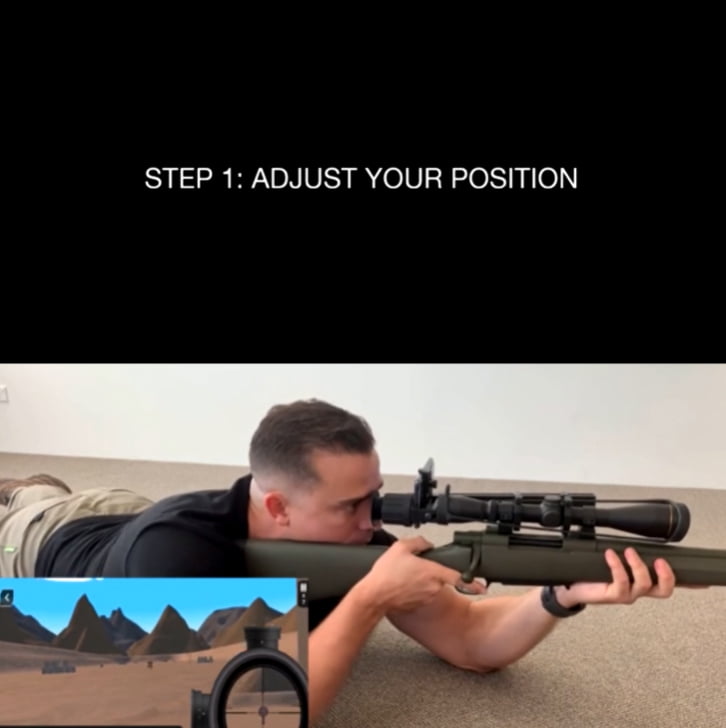
Set up your position and get your rifle pointing at the target by moving your body taking into account your breathing movement.
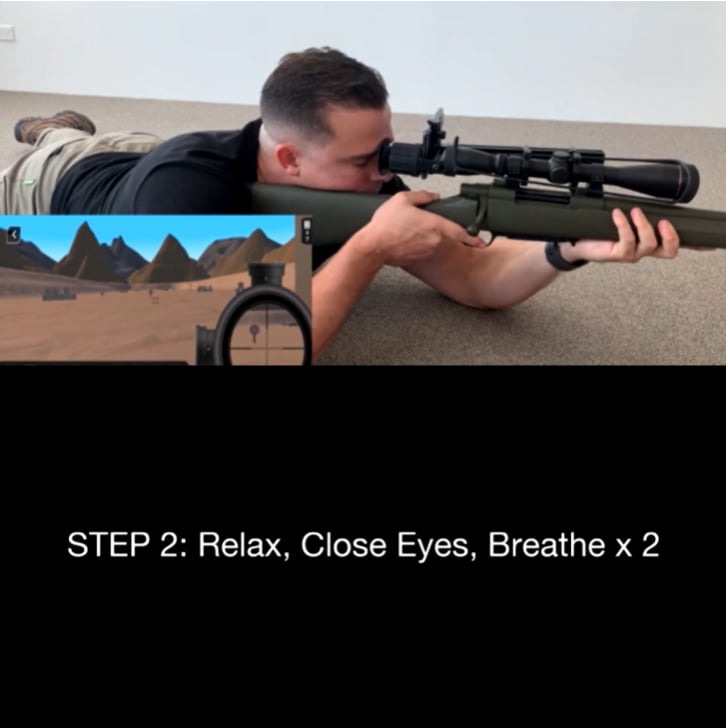
Close your eyes, relax your grip on the rifle and breathe in and out two times.
By closing your eyes and conducting two breathing cycles, you override your subconscious small corrections and when you open your eyes you will see your actual alignment.
On the second exhalation, apply a little rearward pressure on the rifle to ensure that it is firmly planted in your shoulder pocket.
It doesn’t have to be pulled back hard, just firmly planted.
Now open your eyes and see if you are still on target.
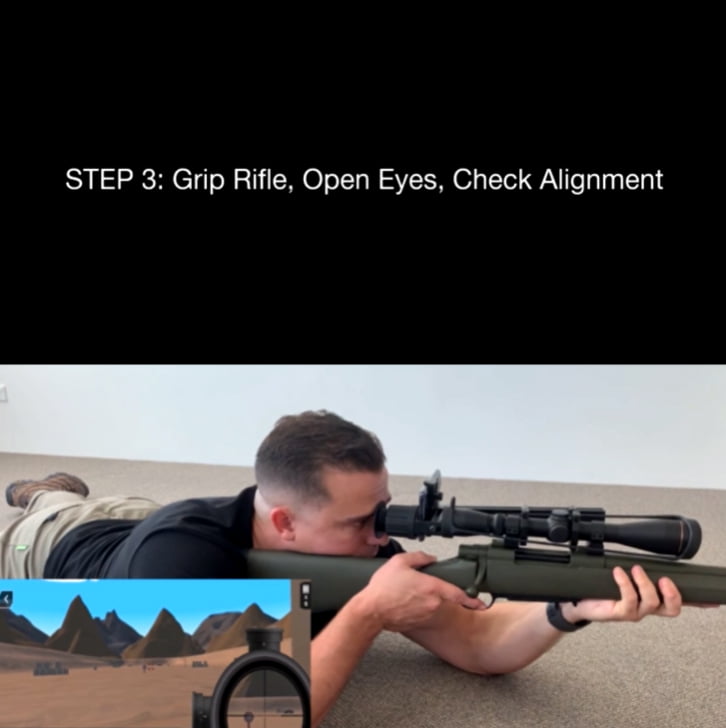
1. You are on target.
If you are on target at this stage – congratulations – you are aligned and can take the shot.
2. You are off target
Nine times out of ten you will be slightly off target like in the picture above and will need to make some adjustments to your body position to get into natural alignment.
If you are off target Go Back to Step 1 and repeat process until you are on target.
The Test and Adjust procedure is a simple sequence designed to override your subconscious tendency to muscle your weapon onto a target when preparing for a shot.
It can take a little time to get use to, but after practice, it becomes second nature and will greatly enhance your ability to adopt a perfectly aligned shooting position and greatly improve your accuracy.
 Find Out More